ElysiaJS with Next.JS and React Query
Apr 13, 2024
0
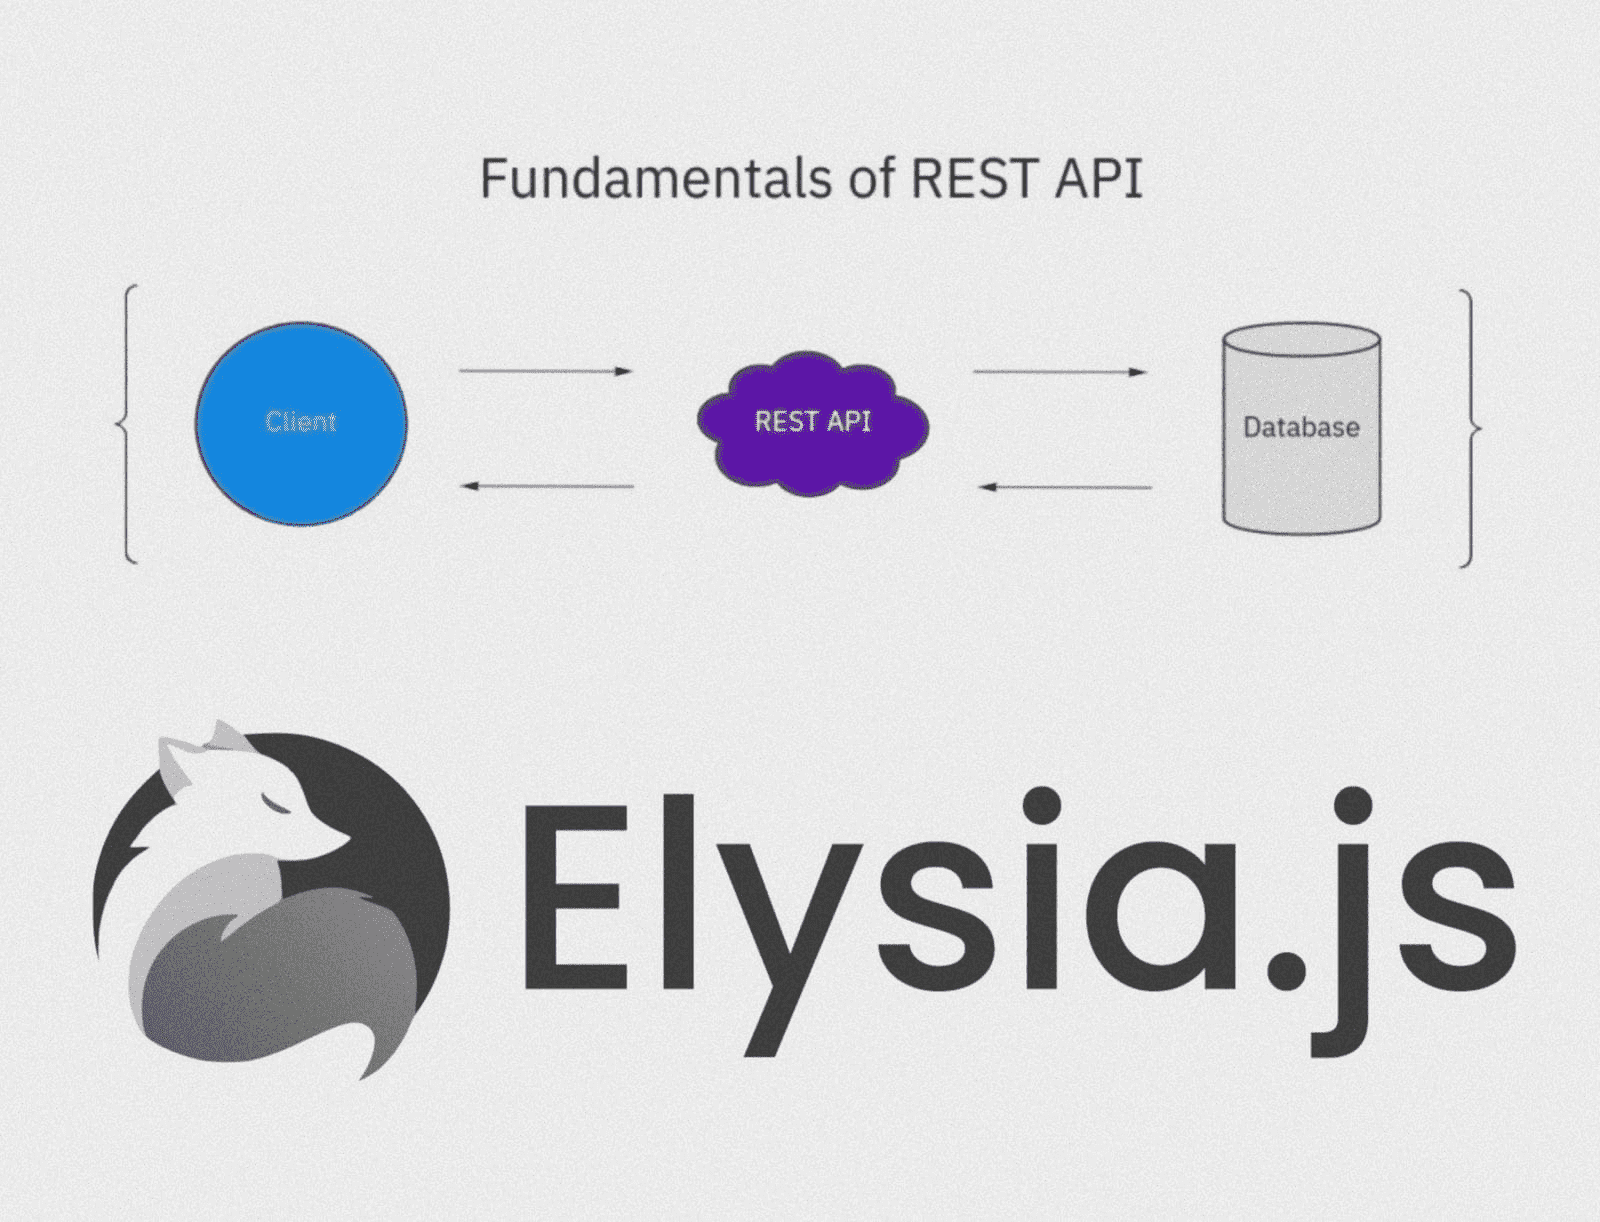
Elysia 1.0 version has released which is first stable release. And It's all set up for writing type safe Rest API for production. I like Elysia and reason is whether you want end to end type safe or performance(21x faster than Express) or built on intuitive API or good support of built in plugins which makes writing code fast and shipt fast.
I have already a blog written on Elysia with Bun, You can check it if you are building on BUN.
Creating Rest API on BUN with ElysiaJS
Elysia is a simple, type-safe, high-performance framework optimized for Bun and WinterCG compliant, enabling it to run directly in your browser.
Read Full Post
Elysia with Next.JS, I found interesting as we want our API to be end to end type safe and same time good developer experience. Since RSC(React Server Component) come to Next.JS, It has already simplified so many things which we can discuss later in other article. but writing API with next.js approach i still don't like but Writing API using elysia and then using in fronted Elysia provided EDEN makes life so much easier.
What is Eden?
Eden is a RPC connecter which provide end to end type safety without any code generation. It's easy to use and help to caught error on runtime as if we change our API structure in backend will reflect in frontend at same time with the help of Typescript inference.
Elysia Route setup in Next.JS#
Before we move ahead we need to install few packages which will help us to make it work. we are using @tanstack/react-query for client component Query and Mutation which also help in type inference.
We can use eden in Server Component directly as we use other async functions and good thing is we will get response fully type safe.
@tanstack/react-query is optional you can use simple useEffect to fetch
data or any other library. we are using latest 14.1.4 version with APP router.
yarn add elysia @elysiajs/eden @tanstack/react-query @elysiajs/bearerSetting up route for all our API using elysia is so easy and straight forward, We just need to give a way to elysia that it can handle all our request.
We have to create a root entry point for all our api request to achieve this you can create a folder app/api/[[...route]]/route.ts.
// app/api/[[...route]]/route.ts

import { Elysia, t } from 'elysia';

const app = new Elysia({ prefix: '/api' }).get(
  '/hello',
  () => 'Hello from Elysia'
);

export type App = typeof app;

export const GET = app.handle;
export const POST = app.handle;
export const PUT = app.handle;
export const DELETE = app.handle;
This is all we need to setup elysia to Next.JS. Now we are all set to adding routes as per our need in easy way.
As you can see we are exporting App which holds all the type of our app. This App will help eden to infer type when we will use it in frontend.
Elysia Eden setup in Server Component#
Eden setup is too easy since Elysia doing all heavy lifting under the hood and giving us API which is easy to use.
// app/page.tsx

import { treaty } from '@elysiajs/eden';
import { App } from './api/[[...route]]/route';

export const client = treaty<App>('localhost:3000');

const Page = async () => {
  const { data } = await client.api.hello.get();
  return (
    <main>
      <h1>{data}</h1>
    </main>
  );
};

export default Page;
Here we imported treaty from Elysia eden package and created a instance. We passed our backend running URL and App which we got from our backend API which help elysia in type inference.
As you can see now after instance is setup you can export client as use anywhere in you app. That client holds all the info with full type inference of our API.
Here we are using RSC(React Server Component) to fetch data directly in our component.
Elysia Eden in Client Component#
To use eden in client component we can use useEffect to fetch and mutation within function where we have to handle all the error state and loading state. Or we can use any third party library.
I found @tanstack/react-query as a standard for async state in React app. but it's up to you which one you wanna use. We have to create a provider and wrap our app with that to use React Query.
// lib/react-query.tsx

'use client';

import React, { ReactNode } from 'react';
import { QueryClient, QueryClientProvider } from '@tanstack/react-query';

const ReactQueryProvider = ({ children }: { children: ReactNode }) => {
  const [queryClient] = React.useState(() => new QueryClient());

  return (
    <QueryClientProvider client={queryClient}>{children}</QueryClientProvider>
  );
};

export default ReactQueryProvider;
Here we just created Provider and wrapped our layout.tsx file with the ReactQueryProvider component. which will make React Query context available globally in our app.
Eden Query and Mutation in Client Component#
We can use useQuery and useMutation hook which provided by React query which makes things easier and infer type so we will get our response which was returned by elysia eden is type safe.
// client.tsx
"use client";

import {  useQuery } from "@tanstack/react-query";
import { client } from "../page";

const Client = () => {
  const { data: index, isLoading } = useQuery({
    queryKey: ["index"],
    queryFn: () => client.api.index.get(),
  });

  return (
    <main>
      <h1>Client Component</h1>
      <p> {isLoading ? "Loading..." : index?.data}</p>
    </main>
  );
};

export default Client;
As you can see above for query data it's as simple where we are just passing our function to queryFn and in return we get all the state in queryData which is type safe. React Query will handle all the state for us including loading, error and success. Which we can get in isLoading, error and data.
We also added a Post Routee where we are passing data to our API and getting data back. As we are passing data in Body so we are creating schema builder using t and valiadating data.
For client mutation we are using useMutation hook which is provided by React Query. We are passing our function to mutationFn and handling all the state in onError and onSuccess callback. The response we will get in onError and onSuccess will be type safe.
Authentication of API#
When It's come to make your API secure there are many way we can do that. But in this article we will use Bearer Token way to authenticate our API. Elysia provided a plugin which is @elysiajs/bearer which help us to read Authorization header and provide us the token which we can use to authenticate our API.
Let's for example we wanna secure our /sign API which we created above. We can use @elysiajs/bearer plugin and onBeforeHandle to check if token is valid or not before request go to our API.
// server.ts
import bearer from "@elysiajs/bearer";
import { Elysia, t } from "elysia";

const app = new Elysia({ prefix: "/api" })
  .use(bearer())
  .onBeforeHandle(async ({ bearer, set }) => {
    if (!bearer) return (set.status = "Unauthorized");
    const isAuthorized = bearer === "12345678";
    if (!isAuthorized) {
      return (set.status = "Unauthorized");
    }
  })
  .post(
    "/sign",
    ({ bearer, body }) => {
      return body;
    },
    {
      body: t.Object({
        name: t.String(),
        password: t.String(),
      }),
    }
  );
As you can see above we are using bearer plugin and onBeforeHandle to check if token is valid or not. If token is not valid we are returning Unauthorized status. And in client mutation we are passing token in header which will be read by @elysiajs/bearer plugin and check if token is valid or not.
In our Post Route any route after use(bearer()) will be secure and need
token to access. If you want to keep some route public you can keep it before
use(bearer()).
Conclusion#
Elysia with Next.JS is a great combination to build type safe API and frontend. Eden is a great tool which help us to make our API type safe and easy to use. For client component, We can use React Query to handle all the state and make our app more robust and easy to maintain.
you can found full source code of this article on Github
I hope you like this article and found it helpful. If you have any question or suggestion feel free to ask in comment section below.


Comments (1)