Next.Js authentication using Lucia and MongoDB
Feb 15, 2024
0
Lucia is an auth library for server that abstracts away the complexity of handling sessions. It is a simple and easy to use library that provides a strong support of database out of the box.
It has built in adapters for various databases like MongoDB, Postgres, SQLite, and MySQL. Which makes it easy to use with any database and with less configuration and full control over the user data. Unlike other libraries where there are many configurations and setup required and things are very abstracted which makes it difficult to understand and use. Lucia gives start to end control over the user data and session management.
It has strong TypeScript support and i works well with all the major runtime like Node.js, Deno, and Bun.
Setting up Lucia with Next.js#
First, we need to create a new Next.js app. You can do this by running the following command
npx create-next-app@latestNext, we need to install Lucia and the MongoDB adapter. You can do this by running the following command.
yarn add lucia oslo @lucia-auth/adapter-mongodb mongooseLucia use oslo for session management and @lucia-auth/adapter-mongodb for MongoDB adapter. We also need to install mongoose to connect to the MongoDB database.
Next, we need to configure MongoDB. You can do this by creating a new file called mongoose.ts and adding the following code.
//db/mongoose.ts

import mongoose from 'mongoose';
declare global {
  var mongoose: any;
}

const MONGODB_URI = process.env.MONGODB_URI!;

if (!MONGODB_URI) {
  throw new Error(
    'Please define the MONGODB_URI environment variable inside .env.local'
  );
}

let cached = global.mongoose;

if (!cached) {
  cached = global.mongoose = { conn: null, promise: null };
}

async function dbConnect() {
  if (cached.conn) {
    return cached.conn;
  }
  if (!cached.promise) {
    const opts = {
      bufferCommands: false,
    };
    cached.promise = mongoose.connect(MONGODB_URI, opts).then((mongoose) => {
      return mongoose;
    });
  }
  try {
    cached.conn = await cached.promise;
  } catch (e) {
    cached.promise = null;
    throw e;
  }

  return cached.conn;
}

export default dbConnect;
This code will connect to the MongoDB database and cache the connection. Since its recommended to cache the connection to the database to avoid creating a new connection for every request.
Next we need to create Model for the User and Session. You can do this by creating a new file called user.ts and adding the following code
//models/user.ts

import mongoose from 'mongoose';
import { MongodbAdapter } from '@lucia-auth/adapter-mongodb';

interface User {
  password: string;
  username: string;
}

const UserSchema = new mongoose.Schema<User>({
  username: {
    type: String,
    required: true,
  },
  password: {
    type: String,
    required: true,
  },
  //. . . other fields
});

export default mongoose.models.User || mongoose.model<User>('User', UserSchema);

//models/session.ts

interface Session {
  user_id: string;
  expires_at: Date;
}

export const SessionSchema = new mongoose.Schema<Session>({
  user_id: {
    type: String,
    required: true,
  },
  expires_at: {
    type: Date,
    required: true,
  },
});

export default mongoose.models.Session ||
  mongoose.model<Session>('Session', SessionSchema);

// adapter for lucia
export const adapter = new MongodbAdapter(
  mongoose.connection.collection('sessions'),
  mongoose.connection.collection('users')
);
We just configured the User and Session model and created an adapter for Lucia. The adapter will be used to store the session data in the MongoDB database.
Since Lucia give us full control over how we wanna store the session data and user data. You can configure it according to your need.
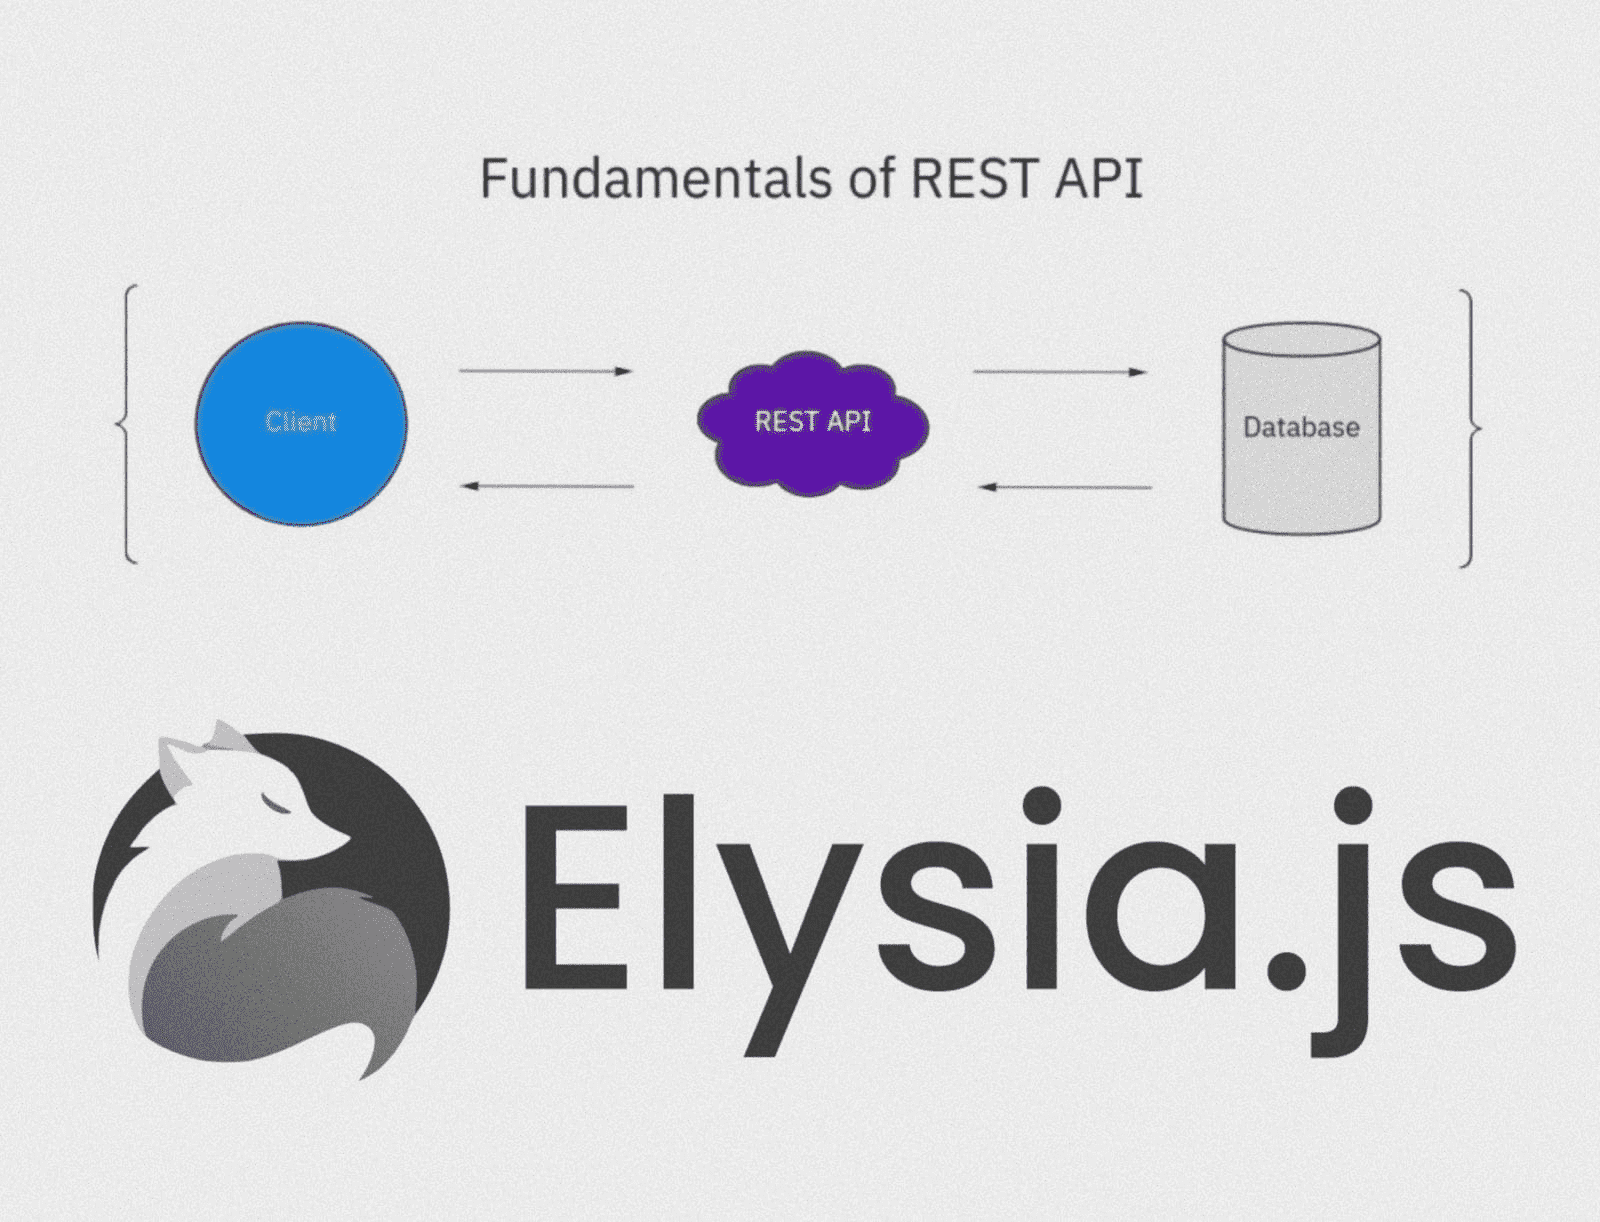
Creating Rest API on BUN with ElysiaJS
Elysia is a simple, type-safe, high-performance framework optimized for Bun and WinterCG compliant, enabling it to run directly in your browser.
Read Full Post
Lucia instance setup#
Next, we need to create a new file called auth.ts and add the following code
//lib.auth.ts

import { Lucia } from 'lucia';
import { cookies } from 'next/headers';
import { cache } from 'react';
import type { Session, User } from 'lucia';
import { adapter } from '@/models/auth-mode';

export const lucia = new Lucia(adapter, {
  sessionCookie: {
    attributes: {
      secure: process.env.NODE_ENV === 'production',
    },
  },
  getUserAttributes: (attributes: any) => {
    return {
      username: attributes.username,
    };
  },
});

export const validateRequest = cache(
  async (): Promise<
    { user: User; session: Session } | { user: null; session: null }
  > => {
    const sessionId = cookies().get(lucia.sessionCookieName)?.value ?? null;
    if (!sessionId) {
      return {
        user: null,
        session: null,
      };
    }

    const result = await lucia.validateSession(sessionId);
    try {
      if (result.session && result.session.fresh) {
        const sessionCookie = lucia.createSessionCookie(result.session.id);
        cookies().set(
          sessionCookie.name,
          sessionCookie.value,
          sessionCookie.attributes
        );
      }
      if (!result.session) {
        const sessionCookie = lucia.createBlankSessionCookie();
        cookies().set(
          sessionCookie.name,
          sessionCookie.value,
          sessionCookie.attributes
        );
      }
    } catch {}
    return result;
  }
);

declare module 'lucia' {
  interface Register {
    Lucia: typeof lucia;
  }
}
We just created a new instance of Lucia where we are passing our adapter and some configuration. We also created a function called validateRequest which will be used to validate the request and get the user and session data.
And thats pretty much it. We have successfully setup Lucia and now we are ready to use Login, Logout, Signup and Protected routes in our Next.js app.
Signup using server action#
We can use server action to register the user. You can do this by creating a new page /app/register/page.tsx.
import { Argon2id } from 'oslo/password';
import { cookies } from 'next/headers';
import { lucia, validateRequest } from '@/lib/auth';
import { redirect } from 'next/navigation';
import userModel from '@/models/user-model';
import dbConnect from '@/db/mongoose';

export default async function Page() {
  const { user } = await validateRequest();
  if (user) {
    return redirect('/');
  }
  return <Form action={signup}>// your form fields</Form>;
}

async function signup(_: any, formData: FormData) {
  'use server';
  const username = formData.get('username');
  const password = formData.get('password');

  const hashedPassword = await new Argon2id().hash(password);

  try {
    await dbConnect();
    const user = await userModel.create({
      username: username,
      password: hashedPassword,
    });

    const session = await lucia.createSession(user._id, {});
    const sessionCookie = lucia.createSessionCookie(session.id);
    cookies().set(
      sessionCookie.name,
      sessionCookie.value,
      sessionCookie.attributes
    );
  } catch (e) {
    console.log('error', e);
    return {
      error: 'An unknown error occurred',
    };
  }
  return redirect('/');
}
Here as you can we are using server action to register the user. We are hashing the password using Argon2id and then creating a session for the user and setting the session cookie.
You can handle the registration action according to your need and use any library to validate the form data.
Login using server action#
We can use server action to login the user. You can do this by creating a new page /app/login/page.tsx.
//app/login/page.tsx

import dbConnect from '@/db/mongoose';
import userModel from '@/models/user-model';
import { redirect } from 'next/navigation';
import { lucia, validateRequest } from '@/lib/auth';
import { Argon2id } from 'oslo/password';
import { cookies } from 'next/headers';

export default function LoginPage() {
  const { user } = await validateRequest();
  if (user) {
    return redirect('/');
  }

  return <Form action={login}>// your form fields</Form>;
}

async function login(_: any, formData: FormData) {
  'use server';

  const username = formData.get('username');
  const password = formData.get('password');

  // you can use zod or any other library to validate the formData

  await dbConnect();
  const existingUser = await userModel.findOne({ username: username });

  const validPassword = await new Argon2id().verify(
    existingUser.password,
    password
  );

  const session = await lucia.createSession(existingUser._id, {});
  const sessionCookie = lucia.createSessionCookie(session.id);
  cookies().set(
    sessionCookie.name,
    sessionCookie.value,
    sessionCookie.attributes
  );
  return redirect('/');
}
I have just created a simple login action where we are validating the user and creating a session for the user.
You can handle the login action according to your need and use any library to validate the form data. and also you can handle validation for existing user and password.
Logout using server action#
We can use server action to logout the user. and lucia has made it simple.
import { lucia, validateRequest } from '@/lib/auth';
import { redirect } from 'next/navigation';
import { cookies } from 'next/headers';

export default async function Logout() {
  return (
    <Form action={logout}>
      <button>Sign out</button>
    </Form>
  );
}

async function logout(): Promise<ActionResult> {
  'use server';
  const { session } = await validateRequest();
  if (!session) {
    return {
      error: 'Unauthorized',
    };
  }

  await lucia.invalidateSession(session.id);

  const sessionCookie = lucia.createBlankSessionCookie();
  cookies().set(
    sessionCookie.name,
    sessionCookie.value,
    sessionCookie.attributes
  );
  return redirect('/login');
}
We are using server action to logout the user. We are invalidating the session and creating a blank session cookie.
Protected routes#
Right now we are protecting the routes using lucia validateRequest function. But since Next.Js give us middleware and lucia setting cookie on the client side. We can use cookie to protect the routes in middleware.
It advised by Lucia to configure Next.config.ts to prevent Oslo to getting bundled. You can do this by adding the following code.
/** @type {import('next').NextConfig} */
const nextConfig = {
  experimental: {
    serverComponentsExternalPackages: ['oslo'],
  },
  webpack: (config) => {
    config.externals.push('@node-rs/argon2', '@node-rs/bcrypt');
    return config;
  },
};

export default nextConfig;Conclusion#
I Found Lucia to be a very simple and easy to use library for authentication. It gives us full control over the user data and session management. There are several provider for OAuth and other social logins. It has strong TypeScript support and works well with all the major runtime like Node.js, Deno, and Bun.
I hope you found this article helpful. If you have any questions or feedback, feel free to comment below. You can found the complete code on my GitHub.


Comments (10)